
The body was harder than building the car. 😂 My Celica had 80+ decals, and they weren’t pre-cut. You also have to paint the body yourself.
Need Help?
If you have a question about this post or anything else on the site, leave a comment on any of my YouTube videos. I’m much more likely to see it there and get back to you. RCGuided-YouTube
This site contains affiliate links. When you click these links, you help the site grow. The site may receive a commission at no additional cost to you. As an Amazon Associate I earn from qualifying purchases and as an eBay Partner, I may be compensated if you make a purchase.
A few things were worth knowing:
Paint
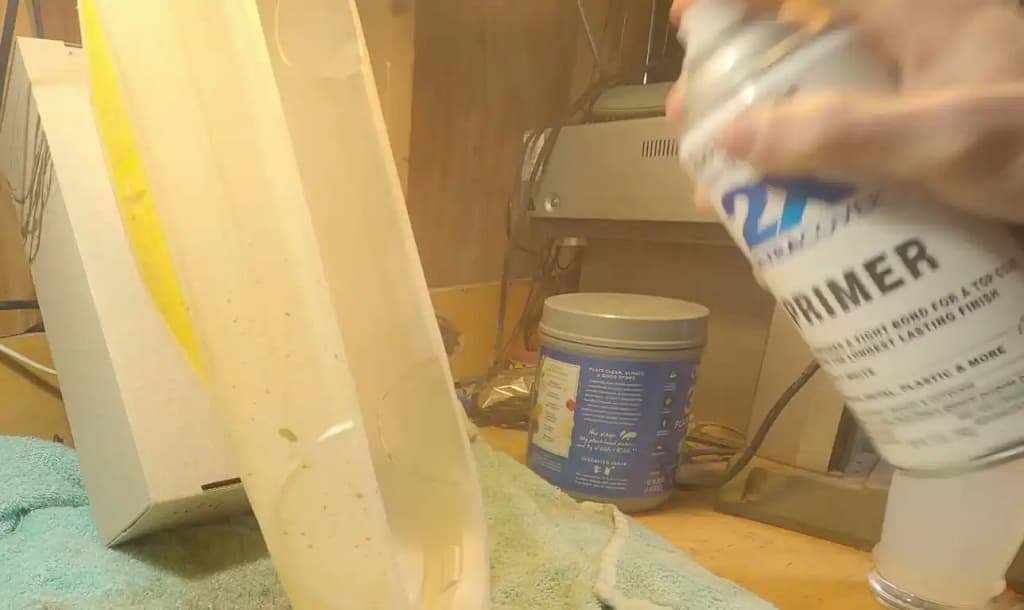
I used several layers of paint, including an adhesion promoter, white base coats, and a gold topcoat. I also sprayed white primer over the gold to make the color pop and give the body a little extra protection from crashes.
Paint scheme
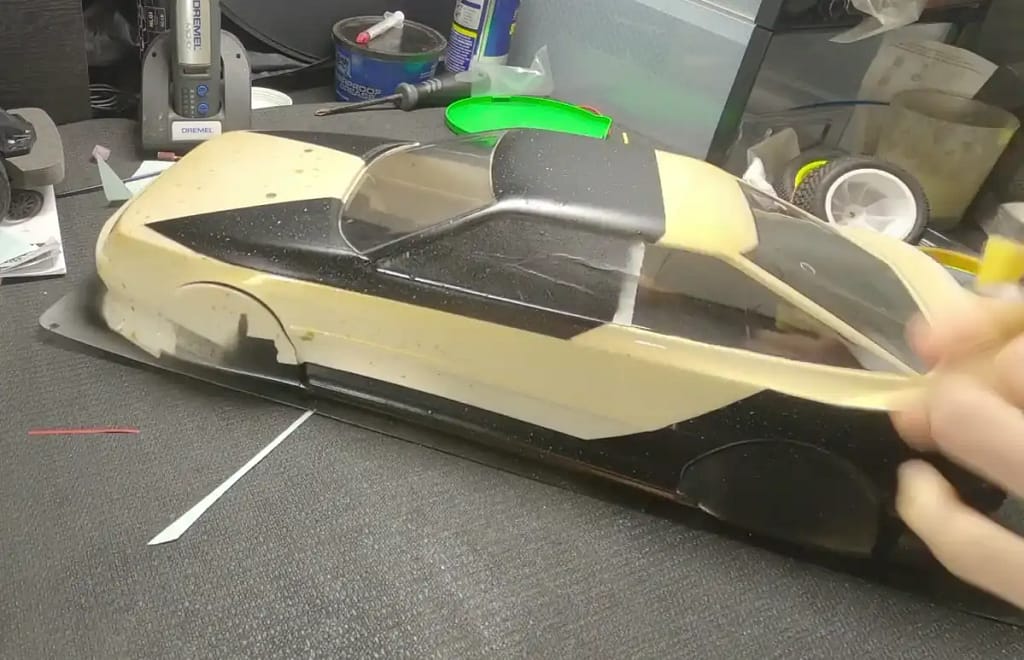
I changed the box art colors from red and black to black and gold, using masking tape to create sharp lines in the custom design.
Decals
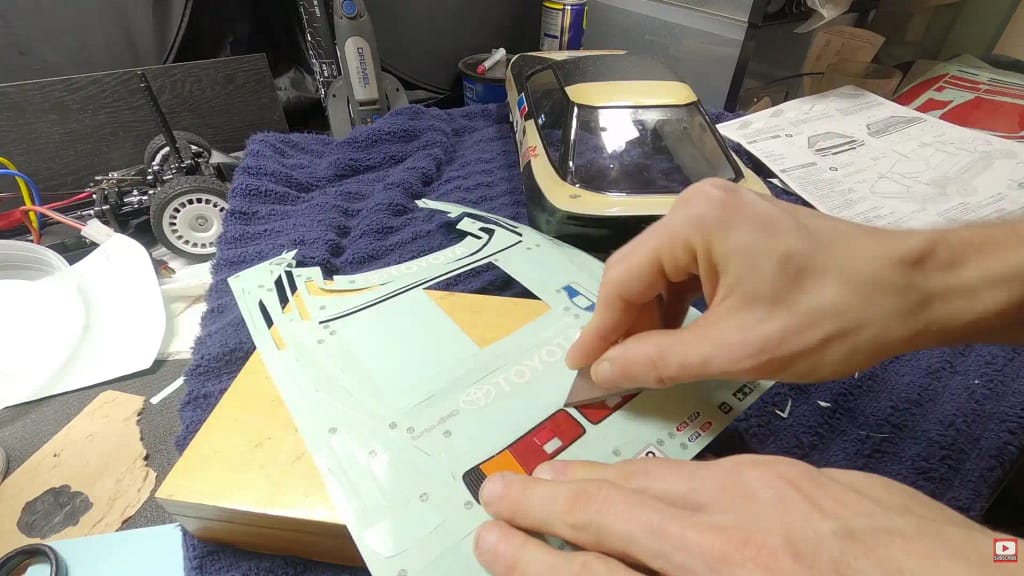
The decals aren’t pre-cut, so each one has to be cut out before applying it. With 80+ decals, this was easily the most time-consuming part for me. I had to carefully cut each decal from the sheet before putting it on the body.
Videos
Want to see the whole process? Here’s the full paint and decal video.
Need a little help with the decals? This quick video shows how I cut them out.
Bottom line: The actual TT-02 build was easier than the body. If you’re building one for the first time, plan on the body taking a lot more time than the chassis.
← Back to My Tamiya TT-02 Journey
What I Used:
- Apple Barrel Acrylic Paint 20504E — Black — for the grille
- Createx Colors Flexible Adhesion Promoter — helps paint stick and flex with the body
- FolkArt Metallic 660 — Pure Gold — gold top coat
- Wicked Colors — White — second coat
- Rust-Oleum 2X Ultra Primer — White — primer coat
- Rust-Oleum 2X Ultra Flat White — final backing coat
- Krylon Fusion — Matte Black — outside black paint
- Renfio Holographic Ultra Fine Glitter Powder — Laser Black — used with adhesion promoter for the splatter effect
- FrogTape Multi-Surface Painter’s Tape — for sharp paint lines
- Sharp Blade Knife — for cutting decals
- White Rising Sun Sticker Vinyl Decal — TuSign — added to the body
- Rotary Tool — for smoothing rough edges
Related posts:
 Tamiya TT-02 Rally Upgrade Series
 (TT-02) Set Perfect Gear Mesh with Stock Motor Plate⚙️
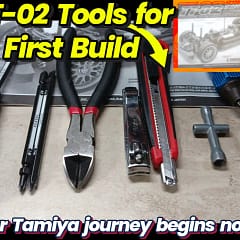 Your First Tamiya TT-02 RC Kit: Essential Tools for a Flawless Build
 Tamiya TT-02 Rally Guide (Notebook)
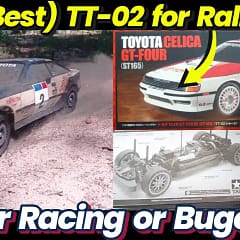 (7 Best) TT-02 Kits for Rally Racing or Buget Fun (find the right kit for you)
![[This Vs That] Tamiya TT-02 (2WD Celica GT-Four) vs Losi Mini-T Monster Herbie) Backyard Rally Battle](https://ml00z1v65wfl.i.optimole.com/w:120/h:120/q:mauto/rt:fill/g:ce/f:best/dpr:2/https://rcguided.com/wp-content/uploads/2025/10/This-Vs-That-Tamiya-TT-02-2WD-Celica-GT-Four-vs-Losi-Mini-T-Monster-Herbie-Backyard-Rally-Battle.webp) 2wd Tamiya TT-02 (Celica GT-Four) vs Losi Mini-T (Monster Herbie)
2wd Tamiya TT-02 (Celica GT-Four) vs Losi Mini-T (Monster Herbie)
 What I Used to Build the TT-02
 Building The TT-02
 Rally Tires — My First Upgrade
 High vs. Low Ground Clearance